Getting started (no code)
From sign-up to posts on your own website, without writing code. It takes about ten minutes, and your blog is live on a free link after the first two steps.
Updated
On this page
The whole thing, in four steps
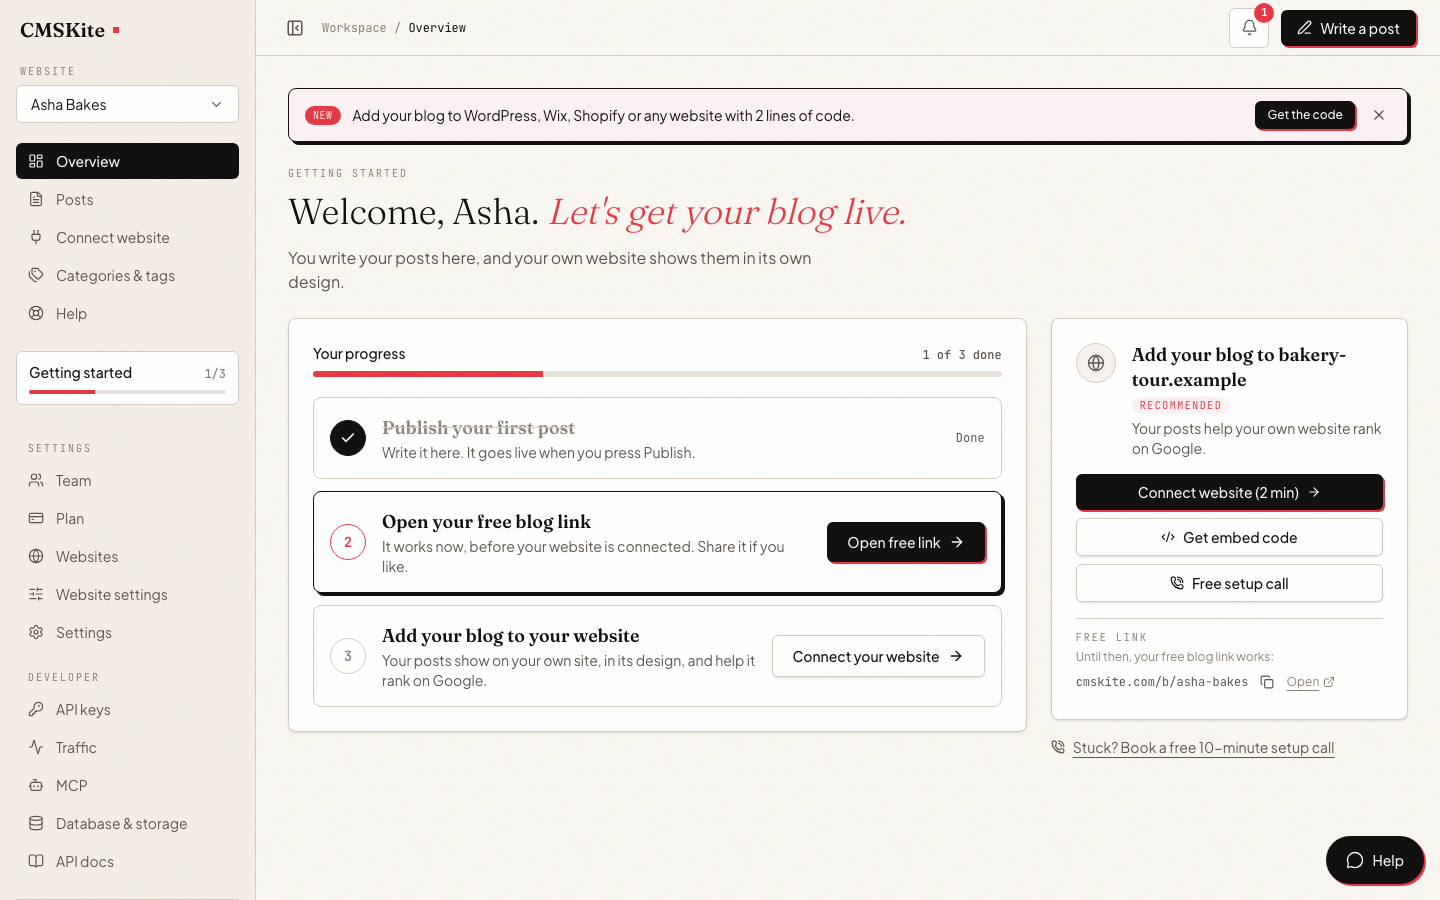
Sign up
Open cmskite.com and press Start free. Sign in with Google or your email. There is no card and no password to choose. Your first website is created for you.
Write your first post
Press Write with AI, type what the post is about, and pick a language: English, Português (Brasil), Español, हिंदी or Hinglish. You get a full draft in the editor in about half a minute. Read it, change what you like, and press Publish. Prefer to write it yourself? Choose Write it myself instead.
Open your free blog link
Your blog is already live at
cmskite.com/b/your-name. Share it with anyone; it works before your website is connected.Add it to your website
Open Connect your website in the dashboard, copy the two lines, and paste them on the page of your site where the blog should be. Your posts show there, in your site’s design.
Writing with AI
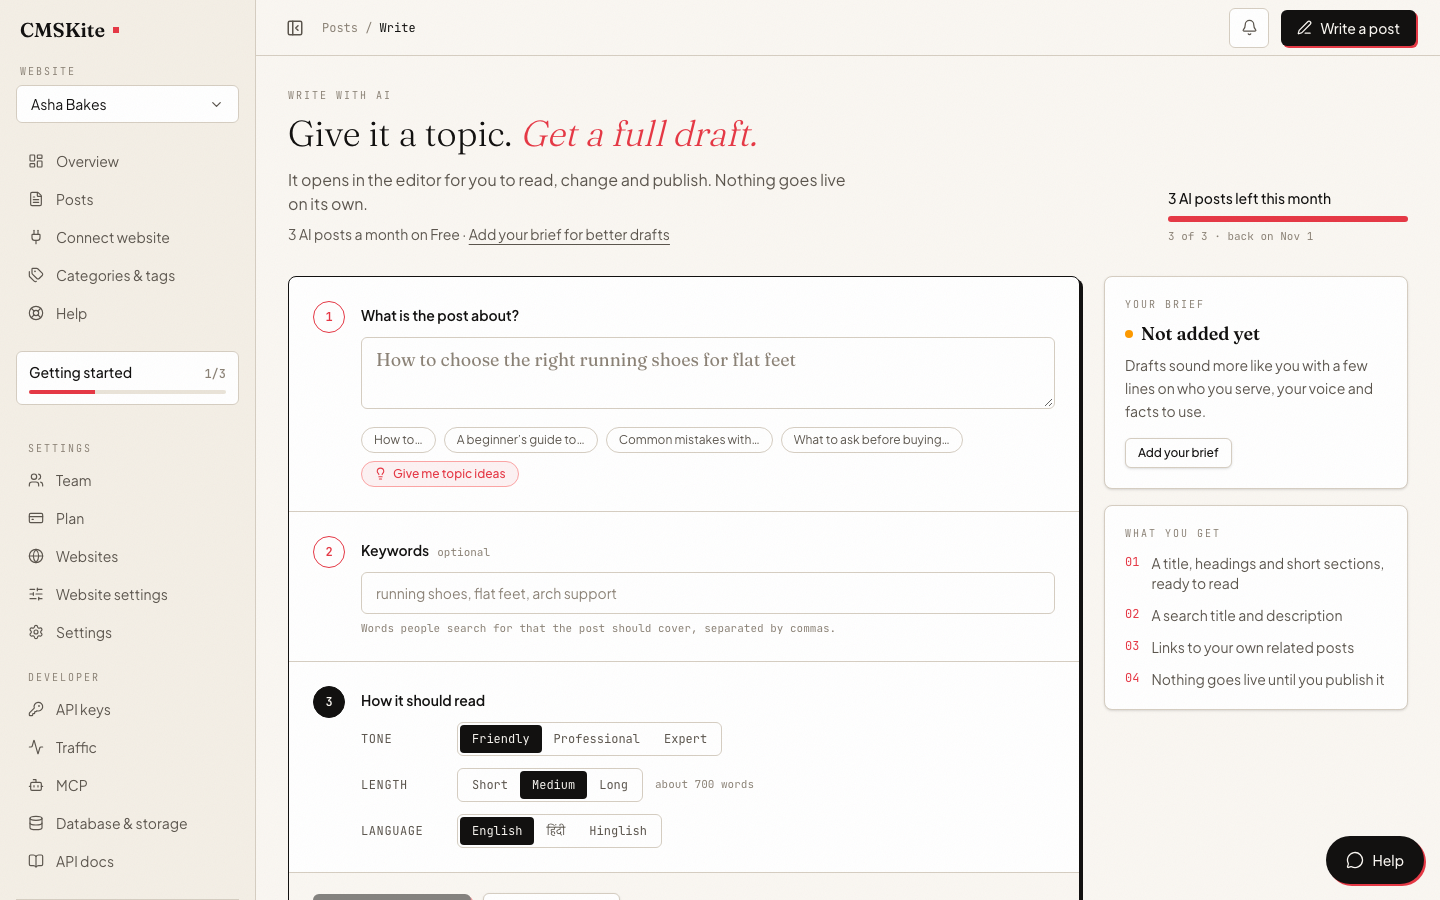
Nothing goes live on its own: the draft opens in the editor and waits for you. If you are not sure what to write about, press Give me topic ideas; that does not use any of your AI posts.
Drafts sound more like you once you add a few lines about your business in Website settings → AI writing brief. Until then a draft ends with a placeholder such as [Add your call-to-action here] for you to fill in.
Your free blog link
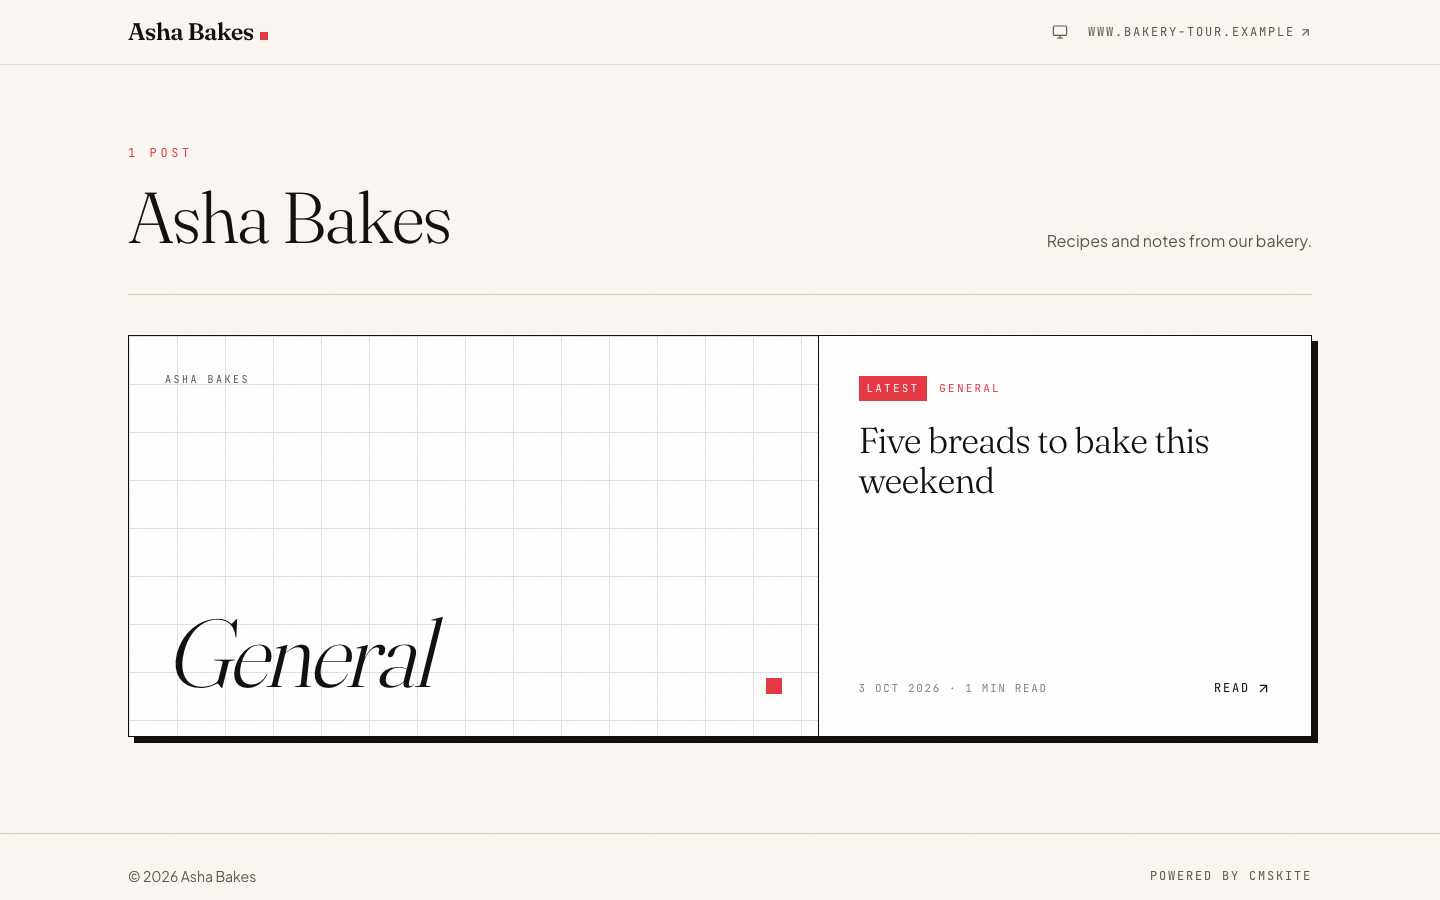
Every account gets one, live from the day you sign up. You can change the your-name part in Website settings → Hosted blog. Once your own website shows the posts, the free link tells search engines that your site is the real home of each post, so the credit goes to your domain.
Adding it to your website
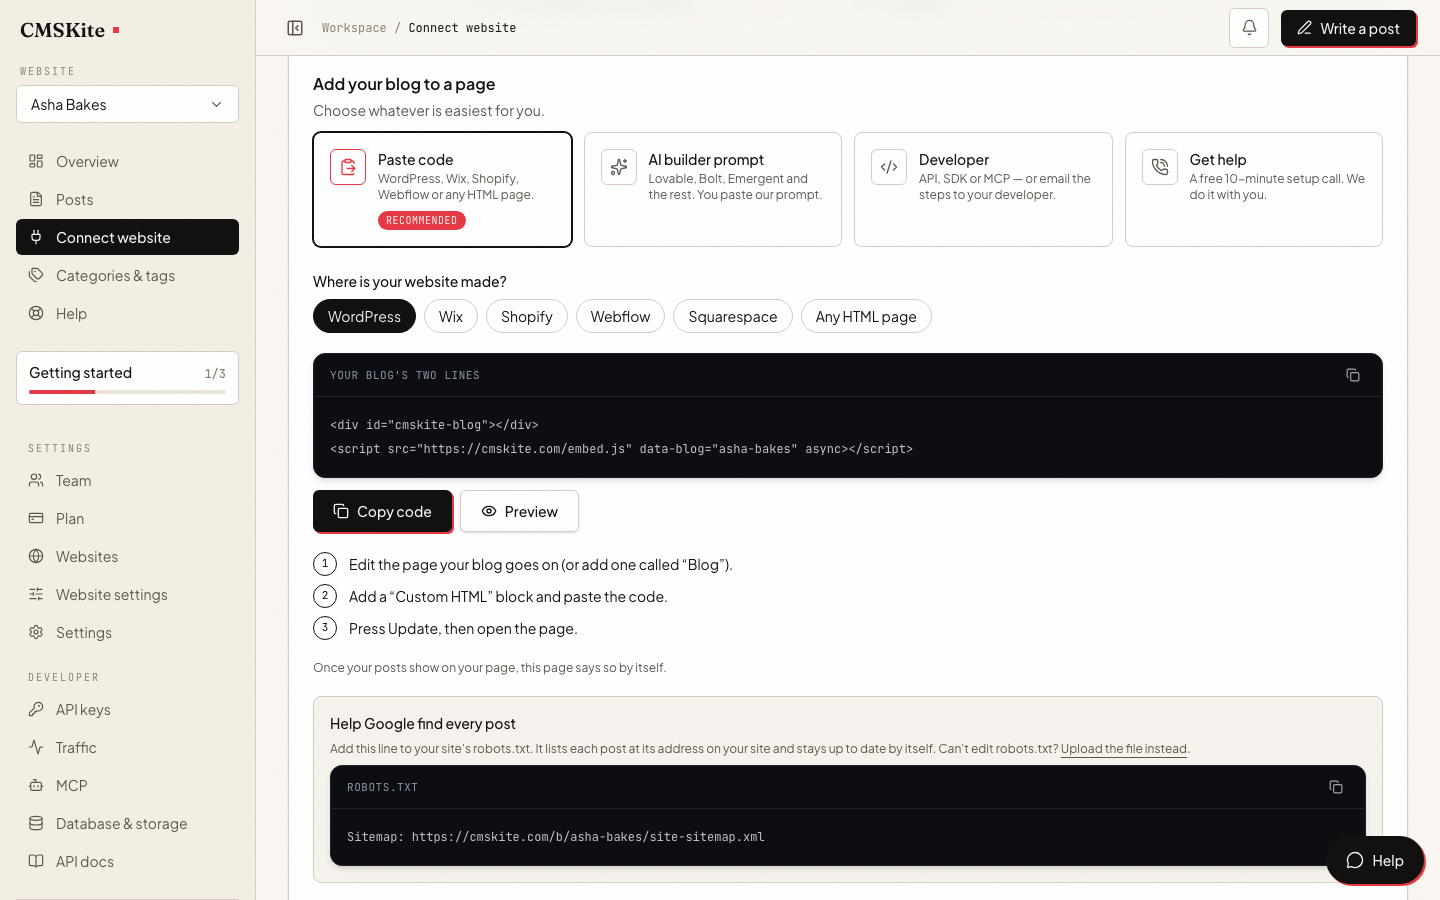
The two lines work on WordPress, Wix, Shopify, Webflow, Squarespace and any HTML page. Each platform has a page with the exact clicks, at cmskite.com/for/wordpress, /for/wix, /for/shopify, /for/webflow and /for/squarespace. Built your site with Lovable? Copy the ready-made prompt instead and paste it into Lovable (cmskite.com/for/lovable).
That is it
From now on you only write. Every post you publish appears on your website and on your free link within a minute, with its title, description and sitemap entry done for you.